The Rich Text Editor appears in most places where text can be entered or customized. It provides many of the same editing and design tools available in common desktop applications and allows for significant customization of elements of the LMS.
Some of the functions of the Rich Text Editor are specific to the LMS. These include:
For details on how to use these tools and tips on how to use some of the more involved common tools, such as the Table Wizard, see the related topics listed below.
The Rich Text Editor includes several tools that help users paste formatted text from Microsoft Word, a web browser, or other applications. This feature applies different types of format stripping to ensure the pasted content matches all other page content.
The Paste button displays the standard clipboard icon. If you wish to paste in text while preserving the original formatting, use this option.
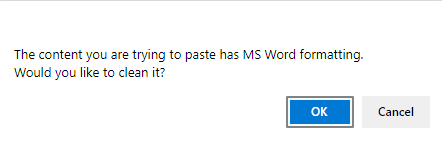
If you are pasting from Word, a pop-up box will ask whether the Word markup should be cleaned. This is recommended. When you click OK, the system will attempt to remove Microsoft Word-specific tags from the content before pasting into the system. This makes the content more readable across multiple browsers and platforms.
The Format Stripper button displays a document icon with a paintbrush. If you know that you wish to paste text while stripping away the original formatting, use this option.

Once you have pasted the formatted text into the editor, select the text and then select the appropriate option from the Format Stripper drop-down list. Options include:
The Table Builder and the Table Wizard both allow you to create tables in the Rich Text Editor. The Table Wizard button displays the standard table grid icon.
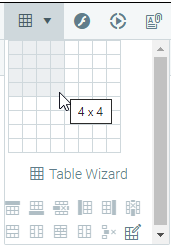
To create simple tables, position the cursor where you want to create the table and click the Insert Table button on the toolbar.

Choose the number of rows and columns you want on the grid and click to select. The table will appear in the editor.
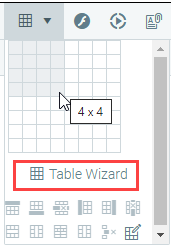
To create more complex tables, you can use the Table Wizard.
Position your cursor where you want to create the table, click the Insert Table button on the Editor toolbar, and then click the Table Wizard button underneath the grid.
The Table Wizard pop-out box will open.
To add or remove columns or rows, click [+] or [ - ] next to Columns and Rows.
Click [+] next to Column Span to merge the cell you have selected with the one to its right. Click the [-] button to unmerge the left cell.
The [ - ] or [+] buttons next to Row Span work in a similar way as Column Span, but for rows.
When you have finished setting up the table, click the OK button and the table will be created in the editor. Further customization of this table is possible using the Table Properties, Cell Properties, Table Layouts, and Accessibility tabs of the Table Wizard. The next few sections describe in detail how to modify tables.
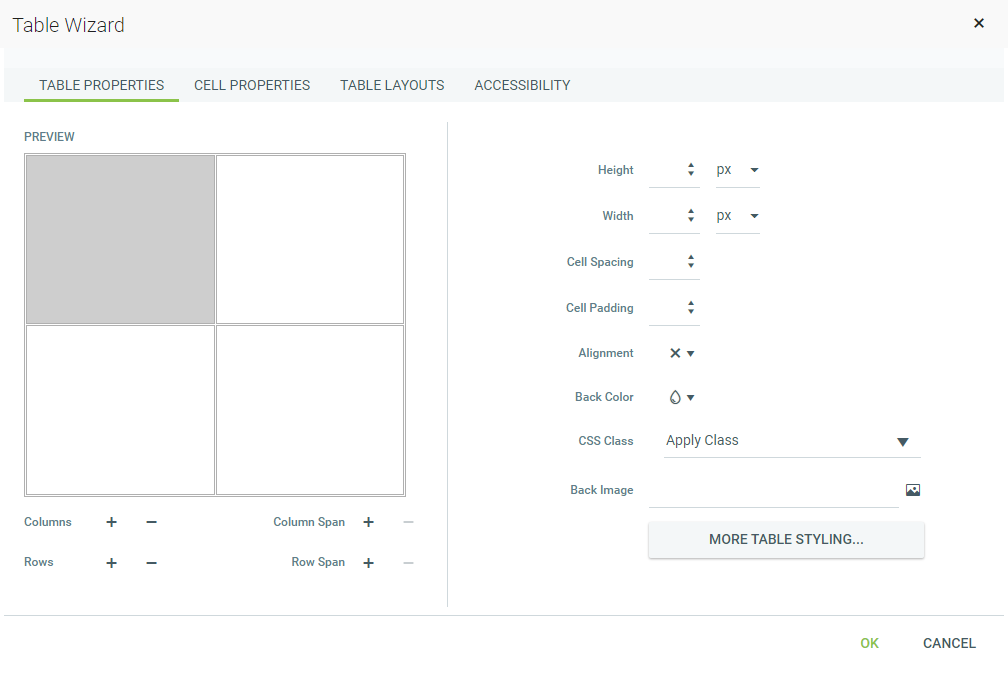
The Table Properties tab allows you to fine-tune the appearance of a new or existing table.
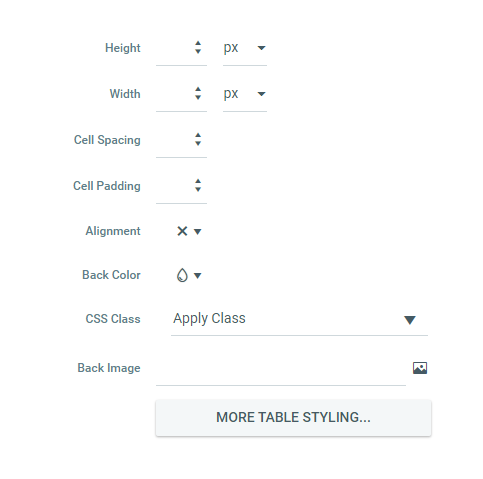
Once the Table Properties dialog tab is opened, you can set the appearance of the table. This involves setting one or more of the following table properties:
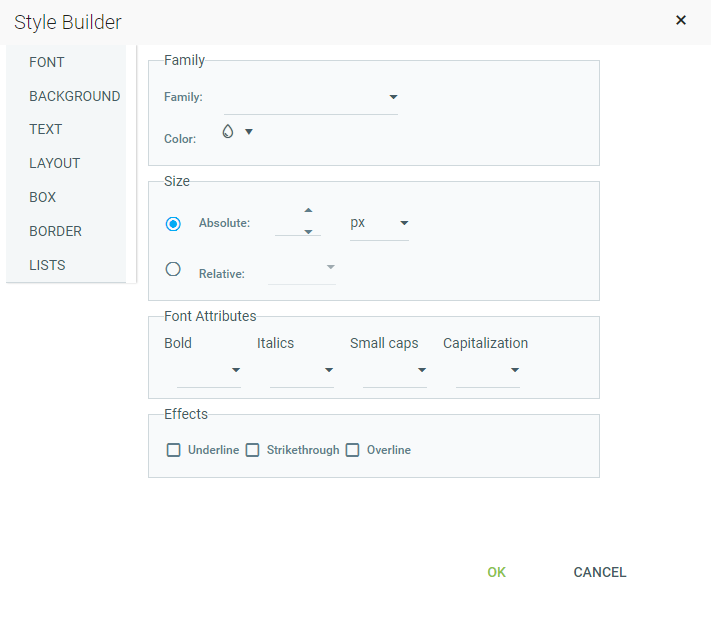
Clicking the More Table Styling Button will open the Style Builder pop-out box. This screen allows you to make more detailed changes to a table including font, background, text, layout, box, border, and lists.
The Cell Properties tab allows you to fine-tune the appearance of individual cells of a given table.
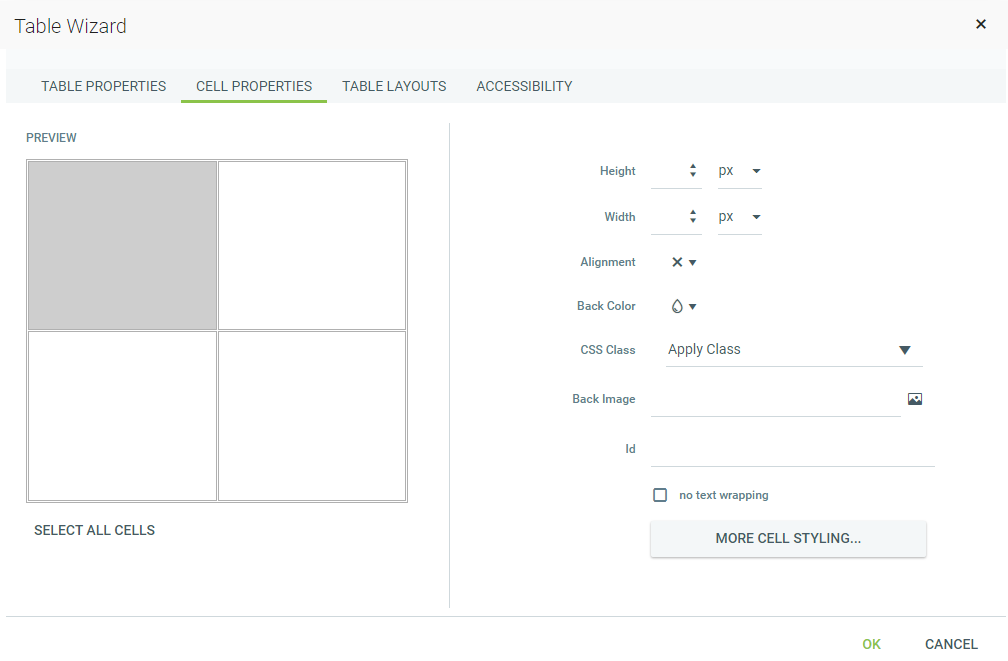
Once the Cell Properties dialog tab is opened you can set the appearance of the individual cells. This involves setting one or more of the following cell properties:
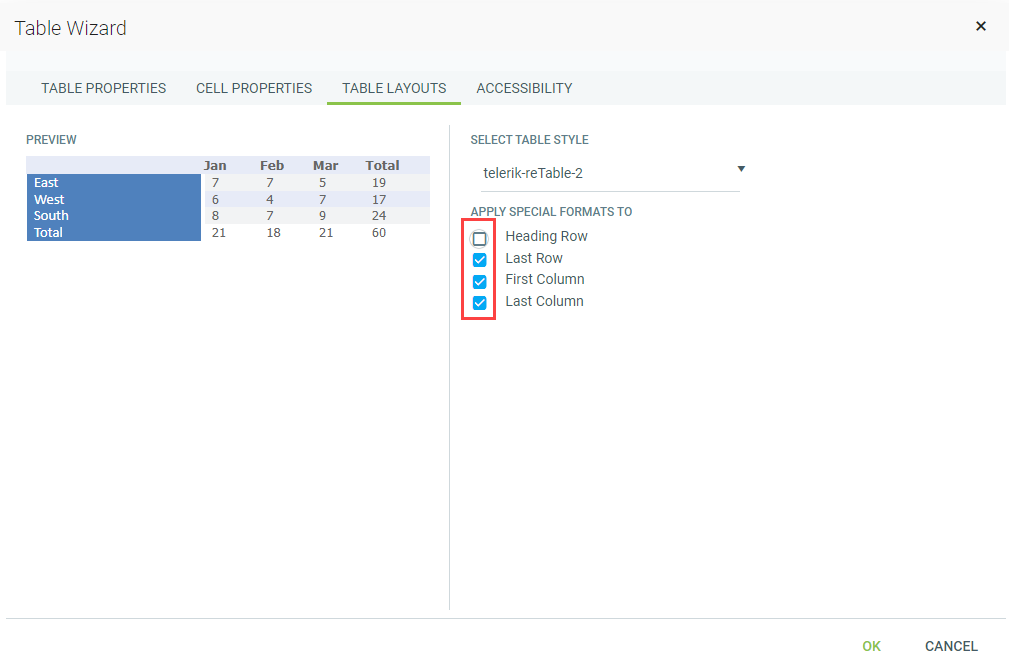
The Table Layouts tab allows you to alter the appearance of the table's layout style.
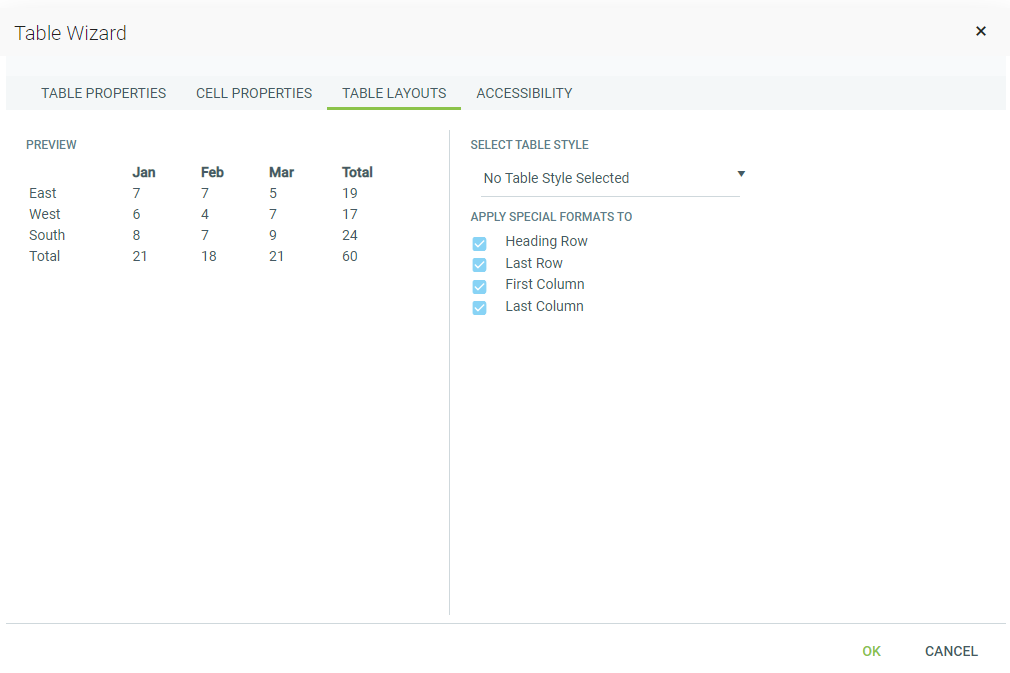
Use the Select Table Style drop-down menu to select any of the pre-defined table styles. Making a selection will display a preview of the chosen table style on the left side of the screen. If you do not wish to apply the features of the selected table style to all rows and columns of your table, uncheck the box next to the area that you do not wish the table style to be applied.
Once you have created a table, you can easily add or delete rows and columns.
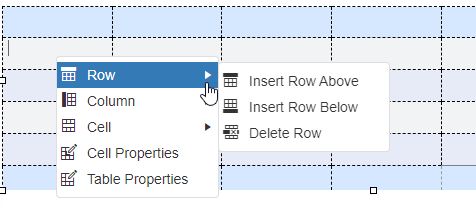
To do this, place the cursor in the row on top or beneath where you want to insert a new row. Right-click to open the context menu.
From the menu, select Row, then select to either Insert Row Above or Insert Row Below the selected cell. You can insert new columns in a similar fashion.
To delete rows or columns, simply place the cursor in the row or column and right-click. Select Row or Column, then Delete Row/Delete Column from the context menu.
Table cells can be merged or split via the context menu also.
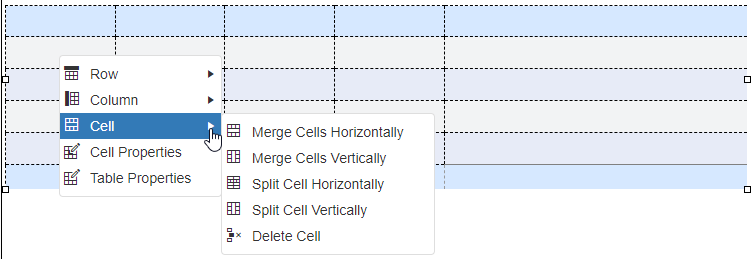
Place your cursor in the cell in question and right-click. Select whether to merge/split cells vertically or horizontally.
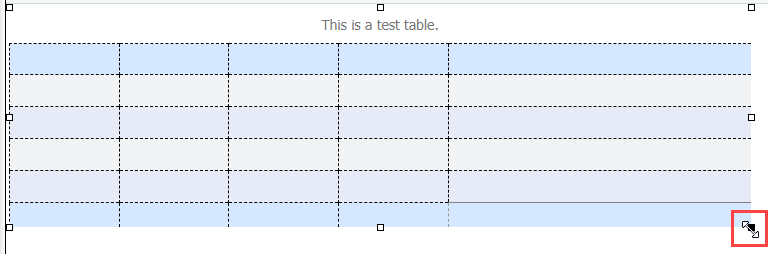
You can resize an existing table either by specifying dimensions in the Table Properties tab of the Table Wizard or by using the drag handles that appear when you click on the table to select it.
You can drag any of these handles vertically, horizontally, or diagonally to resize the table. All cells that do not have exact dimensions (specified in pixels, percent, or points) will be resized evenly to accommodate the new table size.
The Document Manager allows you to insert hyperlinks to document files stored on the web server by selecting them from a list. The dialog is similar to the Image Manager and allows you to browse, upload, and delete documents. The Document Manager button, in the Rich Text Editor, displays a file icon with a paperclip.

To insert a link to an uploaded document, click the Document Manager button. A window will open to display a list of folders and documents that you are allowed to browse. Select the document you want to insert.

Once you have selected a document, the details window on the right side of the screen will populate, and you can add a Tooltip. Tooltips appear when a mouse is hovered over a link. You can put some brief information about the document here. This is also an Accessibility feature; the Tooltip will be read by a screen reader.
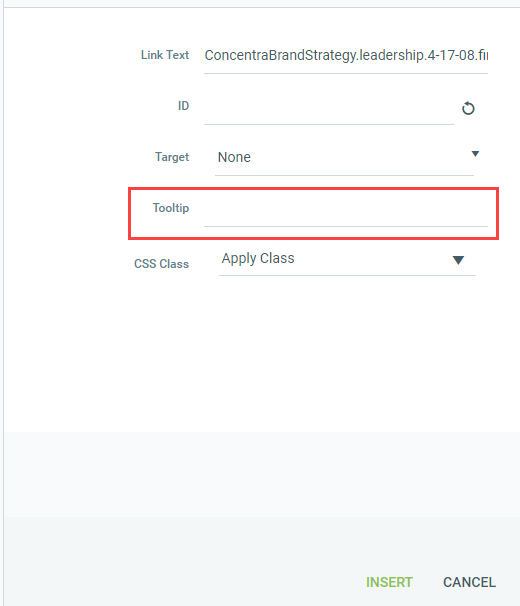
When the link details are complete, click the Insert button at the bottom right. If you have selected some text or an image before opening the Document Manager, that becomes the link text to the document. If you have not, the name of the document appears at the cursor point and is set as a hyperlink to the document.
You can also upload a new document via the Document Manager. To do so, click the Upload button in the top toolbar of the Document Manager window, navigate to the document on your computer, and upload it.

Once it is uploaded, you can select the new document and proceed as above.
The Image Manager allows you to perform the following tasks:
The Image Manager offers two ways of viewing files: Thumbnails View and Grid View (files display as a list).
The Image Manager button in the Rich Text Editor displays the standard landscape icon.

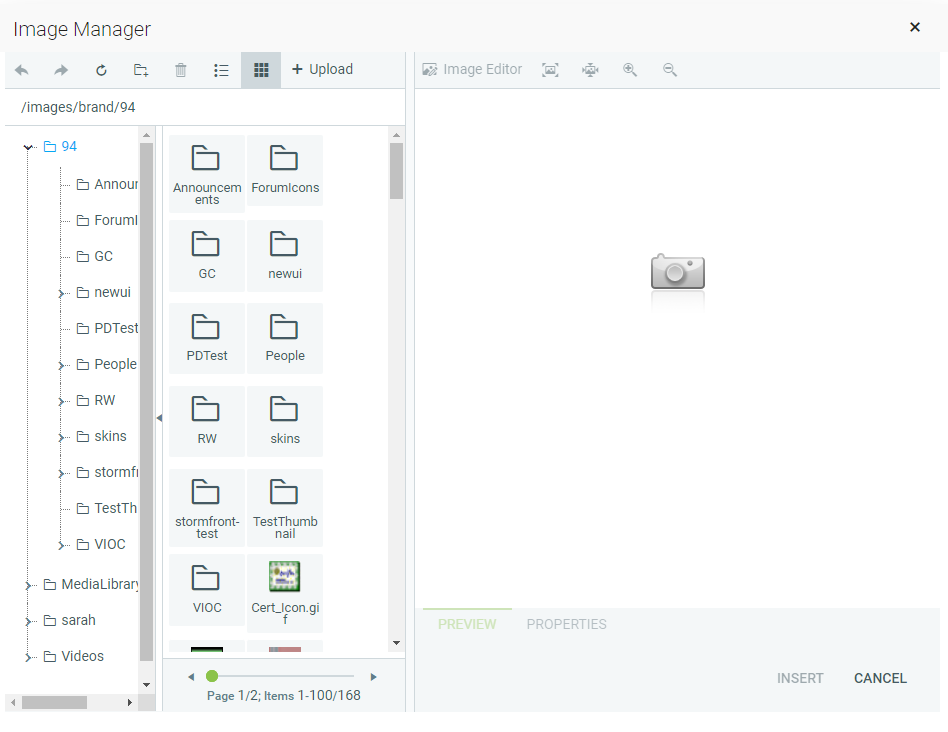
To add an image, position the cursor at the place where you need to insert the image and click the Image Manager button in the toolbar. The Image Manager window will open.
Navigate through the available files to locate the image you wish to add.
Locate the image file that you want to insert and click it once. A preview of the image appears in the right side of the dialog.
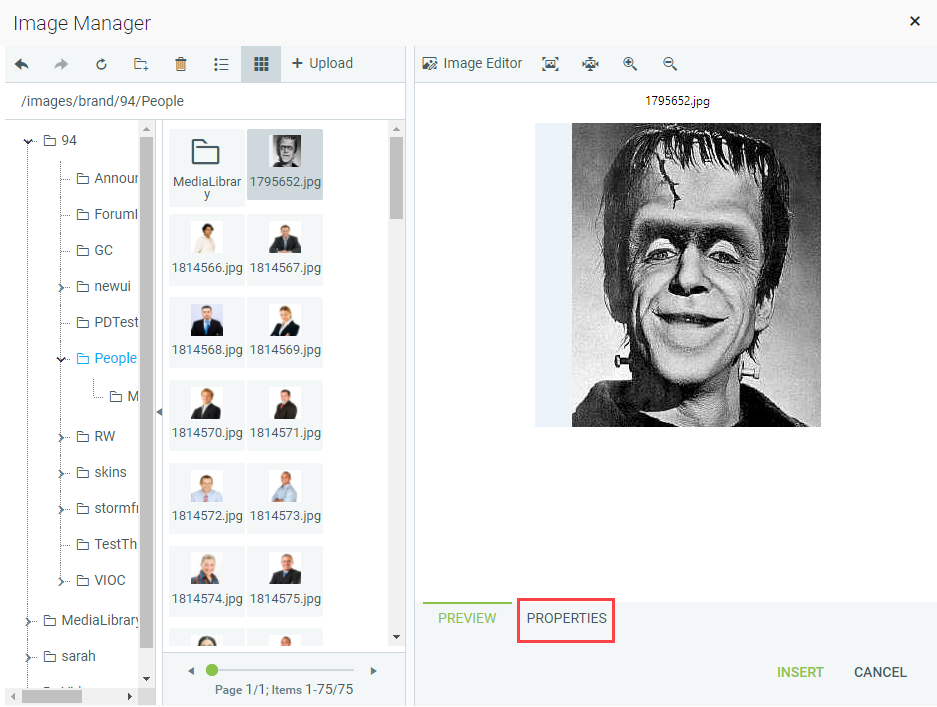
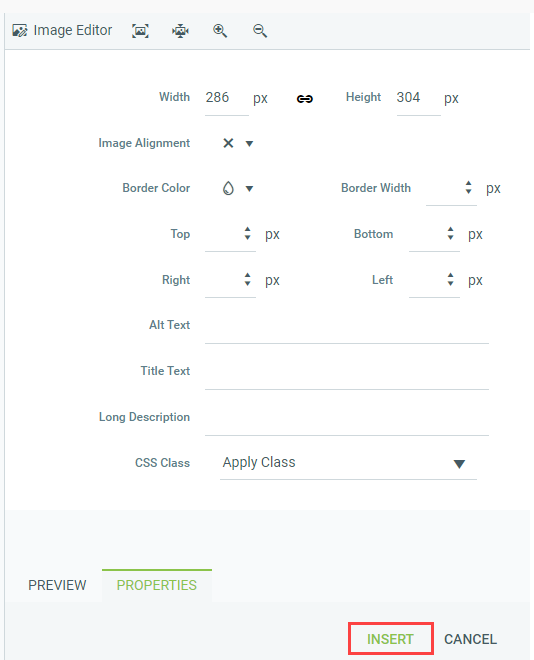
To set the image properties of the selected image, go to the Properties tab at the bottom of the right section. The Properties tab allows you to set the following image attributes:
Click Insert to add the image when you are finished setting properties.
You can also use the Image Manager dialog to upload new images from your computer to the web server.
To upload new images on the server, open the Image Manager and navigate to the folder in which you want to upload the image.
Click the Upload button in the Manager's toolbar, navigate to the image on your computer, and upload it.
The new image will appear in the Image Manager.
The Image Manager includes an Image Editor, which provides the ability to print, crop, resize, zoom, control opacity, rotate, flip, and add text to an image. To access this editor select an image in the Image Manager, and click on the Image Editor button in the toolbar of the Preview panel.

The Hyperlink Manager allows you to create and attach hyperlinks to text or images in the Rich Text Editor. The Hyperlink Manager button displays the standard chain link icon.

To create a link, select the text or object that you want to set as a hyperlink and click the Hyperlink Manager button. The Hyperlink Manager window will open.
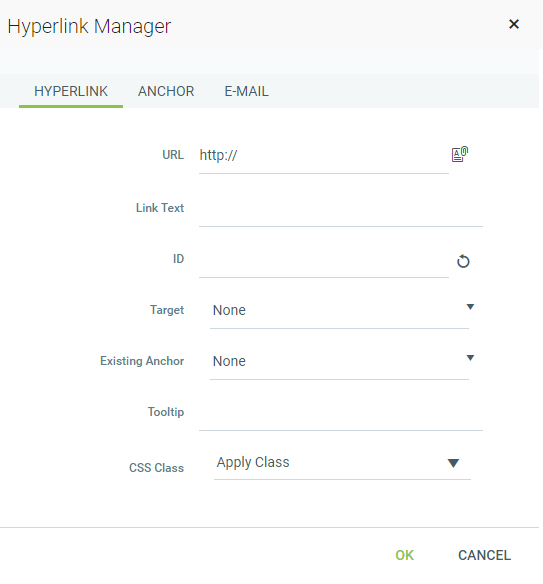
In the URL field, enter the web address that you want the link to point to. It is also possible to insert a link pointing to a document by pressing the Document Manager button to the right of the URL field.

Fill the Link Text field if you have not already selected text in the Rich Content Editor.
Select a target for the link, if you wish.
Enter a tooltip, if you wish. This text will appear when the mouse cursor is placed over the hyperlink.
Click OK to insert the link.
To modify a link, click inside the hyperlink or on the image if you have an image link. Either click the Hyperlink Manager button again or right-click and select Properties from the context menu.
Modify the hyperlink attributes (URL, tooltip, etc.) and click OK when you are done.
To remove a link, select the text or image that has been set as a hyperlink and click the Remove Link button. This button displays the standard broken chain link icon.

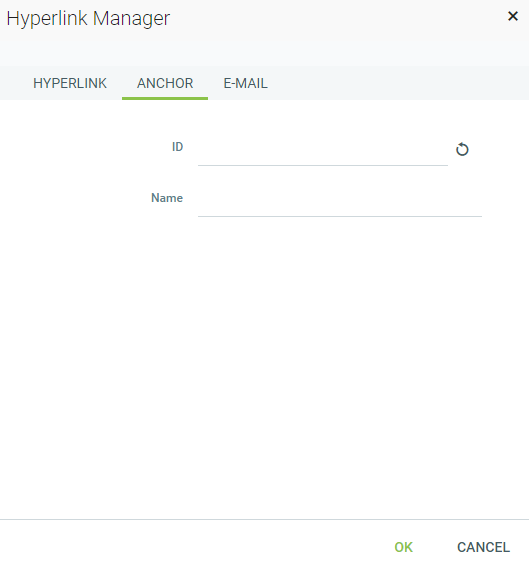
Named anchors allow you to create 'in page' links that move the user to a specific place in the webpage. These can still be created in the second tab of the Hyperlink Manager, but are deprecated in the HTML standard. Rather than using named anchors, it is recommended that you add an ID attribute to a header or similar element and use that as the navigation target for a 'jump' link.
E-mail links do not lead to other web pages, but rather open the default email application on your machine and prompt you to send a message to the provided addressee. When creating email links, you can also specify a default subject for the message (e.g., Request for Information).
To create an email link, select the text or image that you want to set as an email link and click the Hyperlink Manager button.
In the Hyperlink Manager window, click the E-mail tab.
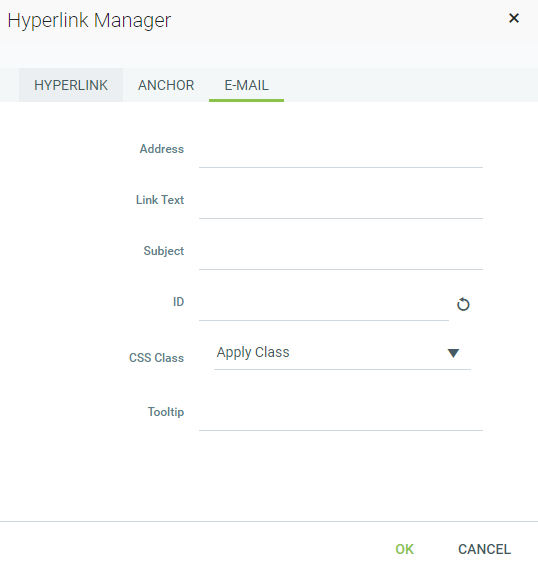
Enter the e-mail address in the Address field.
Enter a text that will appear as an email link, if you have not already selected link text in the Rich Text Editor.
Enter a subject for the email message in the Subject field, if you wish.
Select a CSS Class from the drop-down list, if applicable.
Enter Tooltip text, if you wish, to be displayed when a mouse hovers over the email link.
Click OK when you are done.
The Media Manager allows you to add media files (.avi, .mpeg, .wav, etc.) in the Rich Text Editor. The Media Manager button displays a round 'play' arrow icon.

To add a media file, click to position the cursor where the media should go, and click the Media Manager button in the toolbar.
The Media Manager window will open.
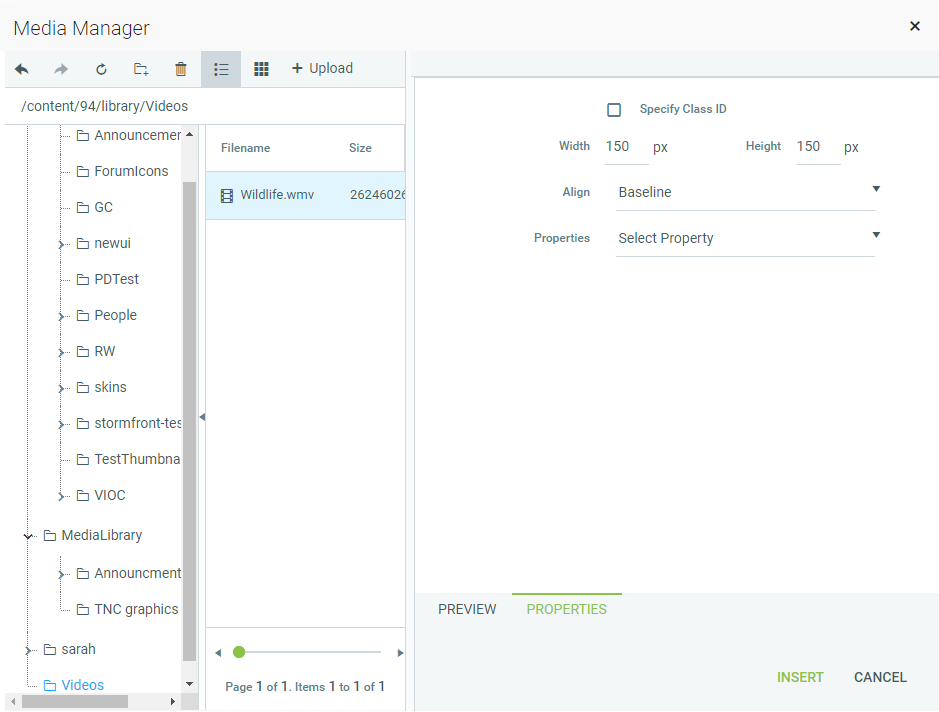
Navigate through the file structure to the media file you want to add and click on it. The Properties and Preview tabs will appear in the right-side panel.
Under Properties, you can set height, width, and specify the alignment the media object should have in relation to the text around it.
When you are satisfied with how it appears, click the Insert button.
To upload a media file from your hard drive to the server, open the Media Manager and navigate to the folder you want to upload media into. Click the Upload button in the top toolbar.

Navigate to the file on your computer and select it.
Click the Upload button at the bottom of the upload window.
To delete a media file, open the Media Manager and navigate to the file location. Select the file and click the Delete button in the Manager's toolbar.

The Flash Manager is a component of the LMS available from the Rich Text Editor. Note: Flash is no longer supported on modern browsers for security reasons, but is provided in the LMS for backward compatibility. The Flash Manager button displays the Flash "F" icon.

To add a Flash object, click the Flash Manager button in the Rich Text Editor toolbar. The Flash Manager will launch and display the file structure you can access.
If the .swf file you want to use is already on the server, navigate through the folders locate it.
Click on the .swf file to select it. The Properties and Preview tools will appear in the right-side panel.
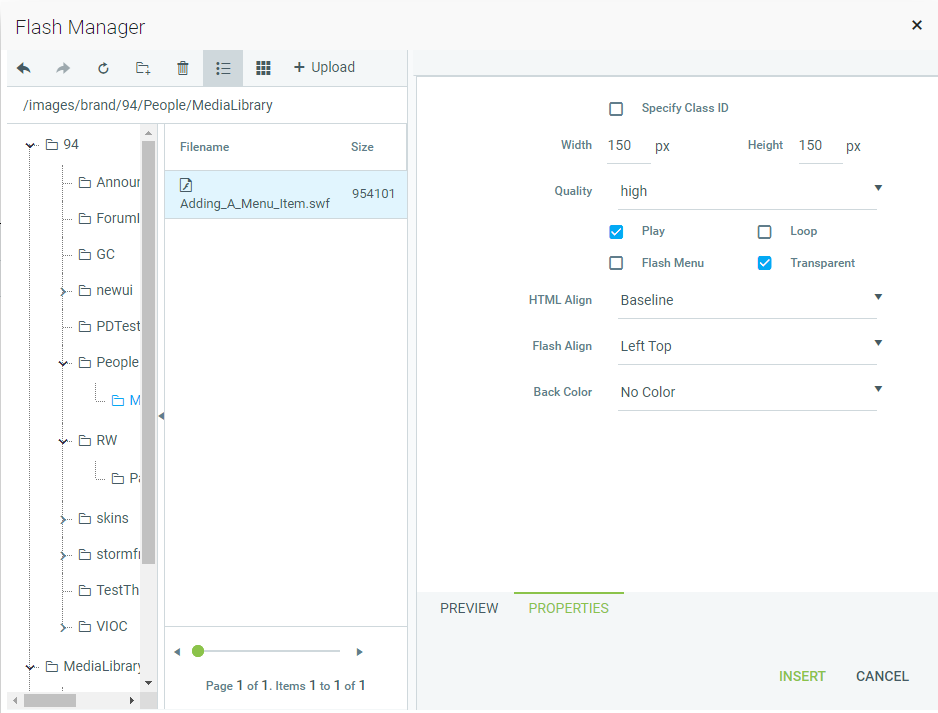
If you know the specific Class ID of the object, select the Specify Class ID check box. A text box will appear where you can enter the Class ID.
Change the default width and height, if you wish.
Click the Quality drop-down and select high, medium, or low quality playback.
Select the Play check box to have the movie play automatically, once through. Select the Loop check box to have the movie play continuously.
Select the Transparent check box to allow the flash to display over any background.
Select the Flash Menu check box to allow the user to right-click on the object and view and change its options via a contextual menu.
Click the HTML Align drop-down and select how you want the object aligned in the paragraph.
Click the Flash Align drop-down and select how you want the object oriented within the pane.
Click the Back Color drop-down to select a background color for the object, if desired.
To preview the object before inserting it, click Preview.
Click Insert to place the object into the rich text.
Once the object has been inserted, you can click once on it and use the handles to resize it manually. To change its properties later, click once on it to select it, then click the Flash Manager button in the tool bar.
You can also upload a new Flash object. To do so, click the Upload button in the top toolbar of the Flash Manager window.
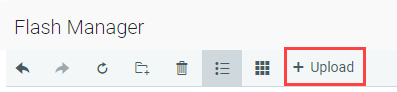
Navigate to the object on your hard drive and upload it.
Click the Overwrite if file exists check box, if you are replacing an existing Flash file with the new upload.
To delete a Flash object in the Flash Manager, navigate to the file and click once on an object's file name to select it. Then click the Delete button in the toolbar.